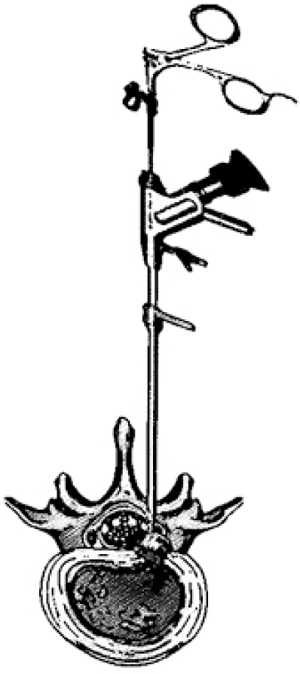
Fig. (9)
Schematic illustration of the interlaminar approach.