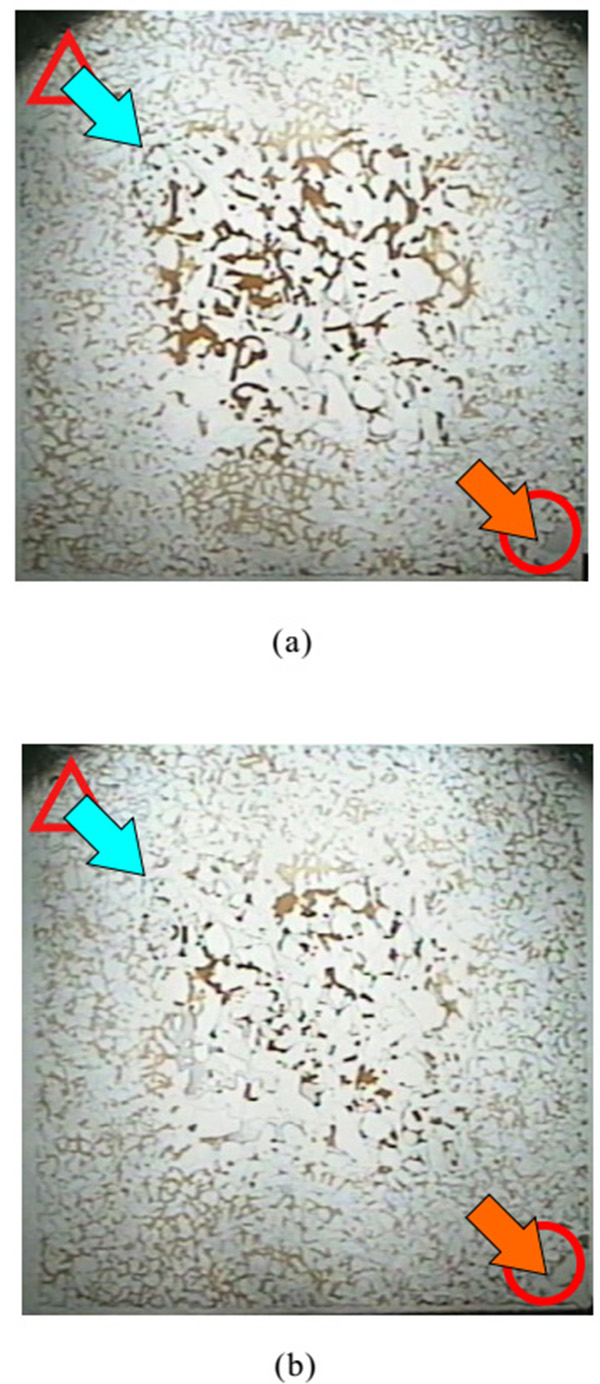
Fig. (5)
Displacement results of each scheme. (
a
) scheme1-1; (
b
) scheme 1-2. Where, ∆ represents injection well, and ○ represents production well.